
In summary:
- True bus sleep requires actively counteracting vibration, sensory overload, and postural instability.
- Focus on building a personal “sleep cocoon” using a strategic kit and body positioning techniques.
- Prepare your body for sleep 30 minutes before boarding and have a recovery plan for arrival to beat “bus lag.”
The dim, flickering lights of the bus terminal. The low rumble of the engine. The quiet dread of a 10-hour journey on a seat that was definitely not designed by a sleep scientist. For any budget traveler, the overnight bus is a necessary evil, promising to save time and money at the steep price of a good night’s rest. You arrive at your destination feeling groggy, stiff, and a day behind before you’ve even started exploring.
The standard advice is familiar to all: pack a neck pillow, wear comfy clothes, and hope for a quiet neighbor. But you’ve tried that, and you still wake up feeling like you’ve gone ten rounds with the vehicle’s suspension system. This isn’t just about comfort; it’s about the deep, restorative sleep that makes the next day enjoyable instead of a recovery mission. The truth is, a few accessories are no match for the constant assault of road vibration and sensory chaos.
But what if the key wasn’t just packing better gear, but actively bio-hacking your environment? What if, instead of passively enduring the journey, you could become the architect of your own mobile sleep sanctuary? This guide moves beyond the basics. We’ll deconstruct the three primary sleep disruptors on a bus—vibration, sensory input, and postural instability—and give you the specific, hack-oriented strategies to conquer each one. From pre-boarding rituals that trigger sleepiness to post-arrival protocols that eliminate “bus lag,” you’ll learn to transform the overnight bus from a trial of endurance into a legitimate night of rest.
To help you master this challenge, we’ve broken down the process into a series of actionable steps. This table of contents will guide you through building your sleep strategy, from the physics of the road to the biology of your own body.
Summary: The Complete Guide to Sleeping on an Overnight Bus
- Why Road Vibration Keeps You in Light Sleep and How to Dampen It?
- How to Build a “Sleep Kit” That Blocks Out Snoring Neighbors?
- Top Bunk vs Bottom Bunk: Which Offers Less Sway and More Air?
- The Meal Mistake That Causes Nausea on Winding Night Roads
- What to Do 30 Minutes Before Boarding to Trigger Sleepiness?
- Why Eastbound Flights Are Harder on Your Body Than Westbound?
- First Class or Standard: Is the Quiet Zone Worth the Extra Cost?
- How to Eliminate Jet Lag on Eastbound International Flights?
Why Road Vibration Keeps You in Light Sleep and How to Dampen It?
The number one enemy of sleep on a bus isn’t the snoring passenger or the reading light; it’s the constant, low-frequency vibration of the road. This judder prevents your body from entering and maintaining the deep and REM sleep stages essential for physical and mental restoration. Your muscles remain subtly tensed, and your brain is repeatedly pulled back into a state of light sleep, leaving you exhausted even if you feel you were “dozing” all night. The goal isn’t to eliminate vibration—that’s impossible—but to dampen it, using your own body and luggage as a shock-absorption system.
This technique, which we’ll call postural anchoring, involves creating a stable, unified mass. Instead of letting your head bob and your limbs sway independently, you use soft materials and your core to absorb the energy. A travel writer documenting an 800+ kilometer journey through Vietnam found that passengers woke up roughly every half hour from the movement. Her solution was to strategically place pillows and blankets in the gaps between her body and the hard plastic edges of the bunk, effectively creating a soft buffer that absorbed the worst of the jolts. This act of “bio-dampening” is your first line of defense.
Think of your space not as a seat, but as a nest you must build. Use your main bag as a footrest or press it against your side, maintaining physical contact. This uses the bag’s mass to help absorb vibrations before they travel through your entire body. Engage your core muscles slightly, not rigidly, to let your own musculature act as a natural suspension system. This proactive approach to managing vibration is the fundamental difference between enduring the ride and sleeping through it.
By transforming your mindset from passive passenger to active “damper,” you’ve already won half the battle against the road.
How to Build a “Sleep Kit” That Blocks Out Snoring Neighbors?
With vibration partially managed, the next challenge is sensory chaos: the unpredictable symphony of snoring, coughing, phone screens, and corridor lights. Your goal is to achieve a near-total sensory lockdown by creating a portable “sleep cocoon.” This goes far beyond a flimsy, airline-style eye mask and foam earplugs. A truly effective sleep kit is a curated system of tools designed to give you complete control over your personal sensory environment, regardless of what’s happening around you.
Your sleep kit should be built in tiers, depending on your budget and how seriously you take your rest. It can range from a budget-friendly setup to an expert-level arsenal that makes sleep all but guaranteed. A key “hack” is to create a personal scent cocoon; a few drops of lavender or chamomile essential oil on your travel pillow or scarf can help mask unpleasant bus smells and create a calming, familiar scent bubble that signals to your brain it’s time to sleep.
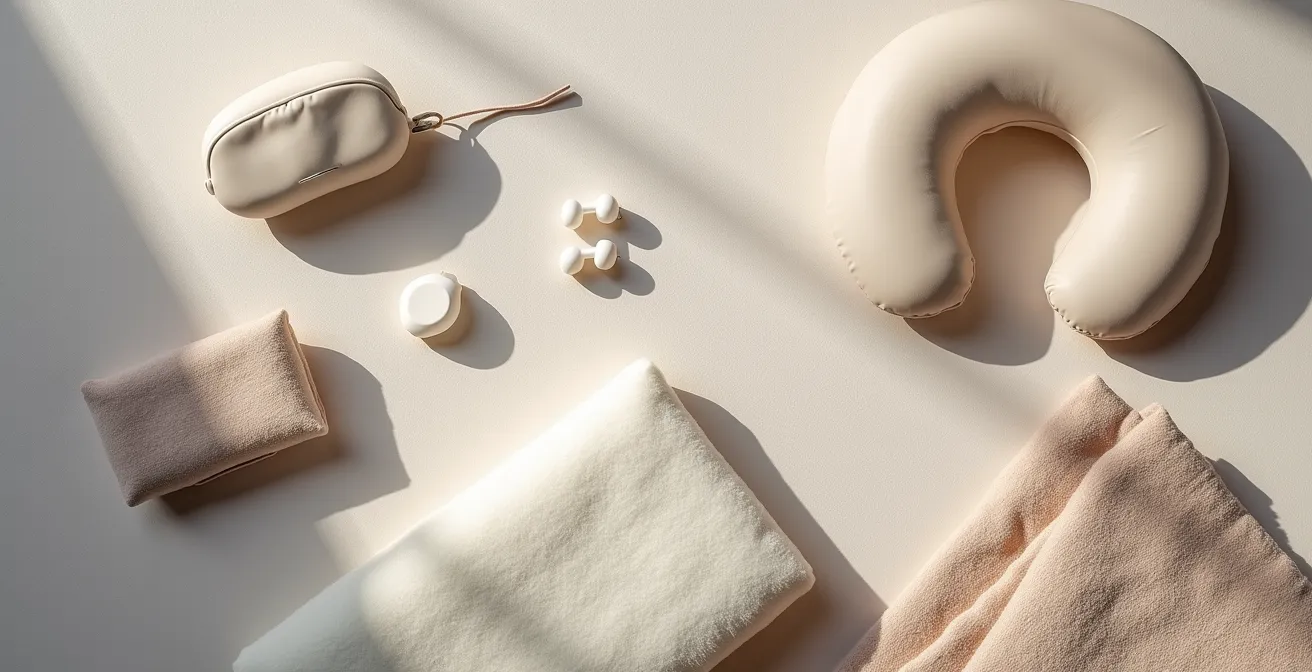
As the layout above suggests, a well-organized kit is key. The most critical items are those that block light and sound effectively. A contoured 3D eye mask is a game-changer, as it blocks all light without putting pressure on your eyelids, allowing for natural REM movement. For sound, while foam earplugs work, consider upgrading to silicone earplugs or, for the ultimate lockdown, a pair of noise-canceling earbuds playing white noise or ambient sounds.
This table breaks down how you can build your kit based on your needs and budget.
| Kit Level | Price Range | Items Included | Sleep Quality |
|---|---|---|---|
| Budget Kit | Under $20 | Foam earplugs, basic eye mask, rolled-up hoodie | Basic comfort |
| Comfort Kit | $20-75 | Silicone earplugs, contoured 3D mask, inflatable/memory foam pillow | Good rest |
| Expert Kit | $75-150+ | Noise-canceling earbuds, silk eye mask, specialized travel pillow, travel blanket | Premium comfort |
Finally, a smart safety tip is to wear a small daypack on your front while sleeping, especially in a curled position. This not only keeps your valuables secure but also acts as a soft, weighted blanket, adding to your sense of security and comfort.
Top Bunk vs Bottom Bunk: Which Offers Less Sway and More Air?
Your location within the bus is as critical as your personal sleep kit. The choice between a top and bottom bunk, or a seat at the front, middle, or back, has a significant impact on vibration, sway, and sensory input. As a rule of thumb, the most stable and quietest zone is the middle of the bus, over the wheels. The rear seats suffer from the most engine noise and bumps, while the front is exposed to headlights and conversation from the driver.
When it comes to bunk beds, a common feature on sleeper buses in regions like Southeast Asia, there’s a clear trade-off. Reports from travelers on VIP sleeper buses in Vietnam note that the lower bunks are significantly more stable, experiencing less of the side-to-side sway that can induce nausea and disrupt sleep. However, they are also more exposed to foot traffic in the aisle and can feel more claustrophobic. The top bunks offer more privacy and a welcome distance from the aisle, but they amplify the bus’s swaying motion. If you are prone to motion sickness, the bottom bunk is the safer choice.
Beyond the bunk, the overall configuration of the bus matters. Buses with two rows of bunks instead of three offer vastly more personal space, better air circulation, and a less crowded environment, which directly translates to better sleep quality. It’s often worth inquiring about the bus type when booking. Furthermore, according to overnight bus travel experts, the seats in the middle of the bus provide the most stable ride, making this the prime real estate for light sleepers.
Ultimately, the ideal position is a lower-middle bunk or seat, away from the toilet and the main entry. This location offers the best balance of stability, quiet, and reduced foot traffic, giving you the strongest foundation for a restful night.
The Meal Mistake That Causes Nausea on Winding Night Roads
What you put into your body before and during the ride is a critical, often overlooked, factor in your sleep quality. The wrong meal can wage war on your digestive system, leading to discomfort, acid reflux, or motion sickness—all of which are formidable enemies of sleep. The primary mistake travelers make is eating a large, greasy, or spicy meal too close to departure time. Your digestive system slows down when you’re sedentary, and the added challenge of road motion can quickly lead to nausea.
To avoid this, your pre-boarding meal should be light, bland, and consumed at the right time. For optimal comfort, transportation comfort experts recommend you avoid heavy, spicy, or acidic meals 2-3 hours before departure. This gives your body ample time to digest before being subjected to the twists and turns of the road. Opt for “GO” foods that are easy on the stomach and even promote sleep, like bananas or almonds.
Here’s a simple guide to pre-travel eating:
- GO Foods: Nuts, whole-grain crackers, granola bars, bananas, and almonds are great choices. They are easy to digest and provide slow-release energy.
- NO-GO Foods: Steer clear of greasy items (like fried food), excessive dairy, carbonated drinks, high-sugar snacks, and anything with caffeine. These are all known to cause digestive upset or act as stimulants.
- Hydration Strategy: Drink water steadily throughout the day, but taper your intake 1-2 hours before boarding to minimize bathroom trips.
- Motion Sickness Pro-Tip: If you are prone to motion sickness, taking a preventative medication like Dramamine about an hour before departure can be a lifesaver. A common side effect is drowsiness, which is a welcome bonus on a sleeper bus.
By fueling your body correctly, you prevent your internal systems from becoming another source of disruption, allowing you to focus on managing the external environment.
What to Do 30 Minutes Before Boarding to Trigger Sleepiness?
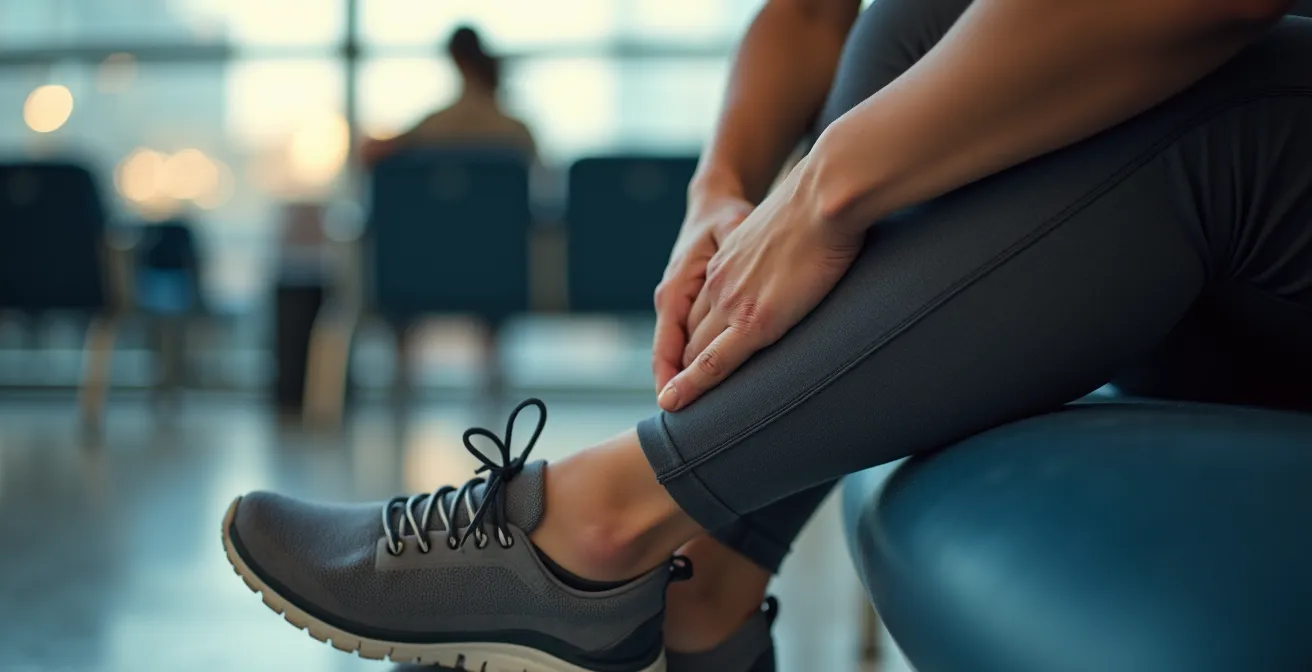
The 30 minutes before you step onto the bus are your “golden window” for sleep preparation. What you do in this short period can prime your body and mind for rest, making it significantly easier to drift off once you’re settled in your seat. Instead of scrolling on your phone or standing anxiously in line, you should perform a deliberate pre-sleep ritual. This ritual focuses on reducing muscle tension, calming your nervous system, and signaling to your brain that it’s time to wind down.
One of the most effective things you can do is light stretching. Sitting for hours will cause your muscles, especially your hip flexors and hamstrings, to tighten. A few targeted stretches at the terminal can alleviate this before it starts. Find a quiet corner and perform a few simple movements like a hip flexor lunge, a seated hamstring stretch, and a gentle spinal twist. This small effort pays huge dividends in comfort later on.
Coupled with stretching, controlled breathing is a powerful tool to down-regulate your nervous system. The 4-7-8 breathing technique is particularly effective: inhale through your nose for 4 counts, hold your breath for 7 counts, and exhale slowly through your mouth for 8 counts. Repeating this just 3-4 times can significantly lower your heart rate and induce a state of calm. This is also the time to prepare your digital environment: set your phone to its dimmest, warmest setting and activate “Do Not Disturb” mode. The blue light from screens is a major inhibitor of melatonin, the hormone that regulates sleep.
Your 30-Minute Pre-Boarding Sleep Ritual
- Final Fueling: Have a light snack from your “GO” list if needed, but ensure your main meal was 2-3 hours ago.
- Targeted Stretches: Spend 5-10 minutes on gentle stretches for your hips, hamstrings, and back to prevent stiffness.
- Mindful Breathing: Practice the 4-7-8 breathing technique for 2-3 minutes to calm your nervous system.
- Digital Wind-Down: Put your phone on “Do Not Disturb” and avoid screens. Prepare your playlist of white noise or calming music.
- Kit Preparation: Have your neck pillow, eye mask, and earplugs out and ready to deploy as soon as you sit down.
By boarding the bus in a state of physical and mental relaxation, you give yourself the best possible chance of falling asleep quickly and staying asleep longer.
Why Eastbound Flights Are Harder on Your Body Than Westbound?
The concept of jet lag is well understood for flights: traveling east is harder because you are “losing” time and forcing your body to sleep earlier than its internal clock dictates. A similar, though non-time-zone-related, phenomenon can occur on overnight buses, especially on eastbound routes that drive into the dawn. We can call this “bus lag.” It’s the profound exhaustion and disorientation you feel upon arrival, and it’s heavily influenced by one powerful environmental cue: sunlight.
When your bus is traveling east, the sun rises directly in front of you. This early morning light, streaming through the windshield, is a powerful signal to your brain to wake up, even if it’s only 5 AM and you’ve had just a few hours of broken sleep. This premature light exposure disrupts your circadian rhythm, cutting your sleep short and leaving you groggy. This is why experienced travelers report that some overnight bus routes arrive as early as 3 AM, making light management in the final hours of the trip absolutely crucial.
Your strategy for managing light should depend on your direction of travel:
- Eastbound Trips: This is a defensive game. For the last 90 minutes of the trip, ensure your high-quality eye mask is securely in place to block the impending sunrise. Avoid front seats at all costs, as they receive the most direct light exposure.
- Westbound Trips: Here, you can play offense. The sun will be behind you, so the morning light is less of a direct assault. In the last 30 minutes of the journey, you can actually remove your eye mask to let the gentle morning light begin to naturally reset your body clock for the day ahead.
By proactively managing your exposure to morning light based on your direction of travel, you can better protect your final, precious hours of sleep and arrive feeling more aligned and less “lagged.”
First Class or Standard: Is the Quiet Zone Worth the Extra Cost?
Many bus companies offer a “premium,” “VIP,” or “first-class” seating option for an extra $15-$30. For a budget traveler, this can seem like an unnecessary luxury. But is it? When you reframe the cost not as a luxury but as an investment in sleep, the calculation changes. Premium seats typically offer tangible benefits that directly address the core problems of bus sleep: posture and space.
The differences are not just cosmetic. As the data shows, premium seats offer significantly more recline, width, and legroom. A deeper recline angle (140-160° vs. 120-130°) reduces spinal pressure, while a few extra inches of width can be the difference between constantly brushing against your neighbor and having your own personal space. A footrest, often included in premium seats, allows you to elevate your legs, which improves circulation and reduces stiffness. When you break down the extra cost over an 8-hour journey, you might be paying just $2-4 per hour for a dramatically better chance at quality rest.
| Feature | Standard Seat | Premium/VIP Seat ($15-30 extra) | Sleep Benefit |
|---|---|---|---|
| Recline Angle | 120-130° | 140-160° | Reduces spinal pressure |
| Seat Width | 17-18 inches | 20-22 inches | Less neighbor contact |
| Legroom | 28-30 inches | 35-40 inches | Better circulation |
| Cost per hour of sleep (8hr journey) | Base fare | +$2-4/hour | Significantly better rest quality |
The ‘DIY First Class’ Alternative
For the ultimate travel hacker, there’s another approach. Some seasoned travelers argue that investing the $30 upgrade fee into your own permanent, high-quality sleep gear provides better long-term value. A top-tier neck pillow ($15), a contoured 3D eye mask ($10), and high-fidelity earplugs ($5) can create a superior and reusable “sleep cocoon.” This ‘DIY First Class’ strategy is especially effective for travelers who take multiple overnight trips, as the initial investment pays for itself over and over, providing a consistent sleep environment on any bus.
Ultimately, whether you pay for the upgrade or build your own premium experience, the principle is the same: investing in the conditions for good posture and personal space is a direct investment in your sleep and well-being.
Key takeaways
- Vibration is the main sleep disruptor; use your body and luggage for “postural anchoring” to dampen it.
- Create a “sensory lockdown” with a 3D eye mask and quality earplugs to build a personal sleep cocoon.
- Your pre-boarding meal and a 30-minute stretching/breathing ritual are crucial for priming your body for sleep.
How to Eliminate Jet Lag on Eastbound International Flights?
You’ve survived the night. You’ve dampened vibration, blocked out the world, and maybe even gotten a few consecutive hours of sleep. But the battle isn’t over. The first 60 minutes after you step off the bus are critical for shaking off the lingering grogginess and setting a positive tone for the rest of your day. This is your protocol for eliminating “bus lag,” a specific state of exhaustion defined by sleep experts.
Unlike jet lag, which is primarily caused by a time zone shift, bus lag is a physical and sensory hangover. It’s a unique combination of sleep deprivation, stiffness from confinement, and your brain’s recovery from constant noise and motion. As one sleep guide puts it:
Bus Lag is a combination of severe sleep deprivation, physical stiffness from confinement, and sensory recovery from constant noise and vibration, often without a significant time zone change.
– Sleep Travel Research, Pegasus Transit Sleep Guide
To combat this, you need an immediate post-arrival recovery protocol. The moment you disembark, your mission is to re-synchronize your body with the day. First, find natural daylight. Sunlight is the most powerful signal to your brain to suppress melatonin and promote wakefulness. Second, rehydrate immediately by drinking a large bottle of water. Third, perform 5 minutes of the same stretches you did before boarding—neck rolls, shoulder shrugs, and back twists—to undo the stiffness of the seat. Finally, fuel your body with a protein-rich breakfast, avoiding sugar that will lead to an energy crash later.
If you’re still feeling the effects in the afternoon, consider a strategic “Reset Nap.” A short nap of no more than 25 minutes, ideally between 1-3 PM, can be incredibly effective. This is long enough to clear sleep-inducing chemicals from your brain but short enough to avoid falling into a deep sleep that will disrupt your ability to rest that night.
By adopting this holistic approach—from pre-boarding preparation to post-arrival recovery—you can transform the dreaded overnight bus journey. It’s no longer a night to be survived, but a logistical challenge to be solved, allowing you to arrive rested, energized, and ready to explore.