Contrary to popular belief, keeping plants alive isn’t about a rigid watering schedule or finding one ‘indestructible’ plant. Success comes from learning to read your plant’s specific signals and creating a responsive care system. This approach helps you prevent the most common failures—like overwatering and poor soil health—before they even start, turning your home into a green sanctuary.
The sight of another drooping, yellow leaf can feel like a personal failure. You, the city dweller with a longing for nature, followed the advice. You bought the “easy” plant, placed it in your low-light living room, and dutifully watered it, only to watch it slowly give up. This cycle of hope and horticultural heartbreak leads many to believe they have a “black thumb,” a curse that dooms any plant that crosses their threshold. You might have been told to just buy a Snake Plant, or that misting is the magic bullet for happiness.
But the truth is, most common plant care advice is dangerously oversimplified. It’s built on rigid rules that ignore the unique environment of your specific apartment and the individual needs of your plant. The key to transforming your space into a lush, air-purifying oasis isn’t a mystical green thumb; it’s a shift in perspective. It’s about moving away from being a rule-follower and becoming a plant-observer.
This guide is built on that principle. We will deconstruct the most common myths that lead to plant demise and replace them with a responsive care system. You’ll learn how to perform an environmental diagnosis, read the subtle signals your plant sends, and understand the science behind a thriving indoor garden. We’ll cover everything from the lie of the weekly watering schedule to the soil mistakes that invite pests, empowering you to create a cozy, modern, and living space that enhances your well-being.
This article provides a structured path to build your confidence and skills. Follow along to understand the core principles that separate thriving plant parents from perpetually disappointed ones.
Summary: The Urban Botanist’s Guide to Thriving in Low Light
- Why “Water Once a Week” Is a Lie That Kills Your Ferns?
- How to Mist Your Plants Correctly Without Causing Fungal Disease?
- Monstera or Calathea: Which Trendy Plant Won’t Poison Your Cat?
- The Soil Mistake That Brings Fungus Gnats into Your Living Room
- When to Repot: The Root Signals That Say Your Plant Is Suffocating
- The Ventilation Mistake That Makes Your Warm House Feel Cold and Damp
- The Sterile Trap: How to Be Modern Without Losing Coziness?
- How to Verify if Your Reforestation Donation Actually Plants Trees?
Why “Water Once a Week” Is a Lie That Kills Your Ferns?
The single most destructive piece of advice in the plant world is the rigid “water once a week” schedule. This well-intentioned rule is a death sentence for countless houseplants because it ignores the most critical variables: light, humidity, soil type, and the time of year. For an urban apartment with limited light, this schedule almost guarantees overwatering. In fact, improper watering is the #1 cause of houseplant death, according to soil experts. When roots sit in soggy soil, they can’t access oxygen and begin to rot, leading to yellowing leaves, a weak stem, and eventual collapse.
The solution is to abandon the calendar and adopt a responsive care system. Your plant doesn’t need water on a schedule; it needs water when its soil is appropriately dry. Learning to read this signal is the most important skill you can develop. Instead of guessing, you need to physically check. This simple act of observation connects you to your plant’s real-time needs and is the foundation of a true green thumb.
This doesn’t have to be a time-consuming chore. A quick, two-minute check every few days is far more effective than a scheduled drenching. By learning your plant’s unique rhythm, you’ll provide water exactly when it’s needed, fostering strong roots and a resilient, healthy plant. It’s a simple shift from instruction to interaction.
Your Action Plan: The Daily 2-Minute Plant Watering Check
- Finger Dip Test: Insert your index finger into the soil up to your first knuckle (about one inch deep). If the soil feels dry and your finger comes out clean, it’s likely time to water.
- Deeper Check: For larger pots, use a simple wooden skewer or chopstick. Insert it 2-3 inches deep. If it comes out clean and dry, the lower soil is also dry.
- Weight Gauge: After you’ve watered a few times, get a feel for the pot’s weight. A light pot is a thirsty pot. This becomes an incredibly fast and accurate way to check moisture levels.
- Keep a Log: For the first month, jot down when you water each plant. You’ll quickly see a pattern emerge, revealing that your fern needs water every 5 days while your ZZ plant is happy for 3 weeks.
How to Mist Your Plants Correctly Without Causing Fungal Disease?
Misting is often presented as a cure-all for the dry air in heated apartments, especially for humidity-loving tropical plants. While the intention is good, the execution is often flawed. Dousing leaves with large water droplets that sit on the surface for hours creates the perfect breeding ground for fungal and bacterial diseases. Furthermore, a brief misting only raises the ambient humidity for a few minutes, offering little real benefit while creating significant risk. Your plant doesn’t want to be wet; it wants to be in a humid environment.
The professional approach is to focus on micro-climate creation. This strategy provides consistent, beneficial humidity without soaking the leaves. By grouping several plants together, you take advantage of their natural process of transpiration (releasing water vapor from their leaves). Together, they create a small, humid pocket of air that benefits the entire group. This collaborative effect is far more sustainable and healthier than isolated misting.
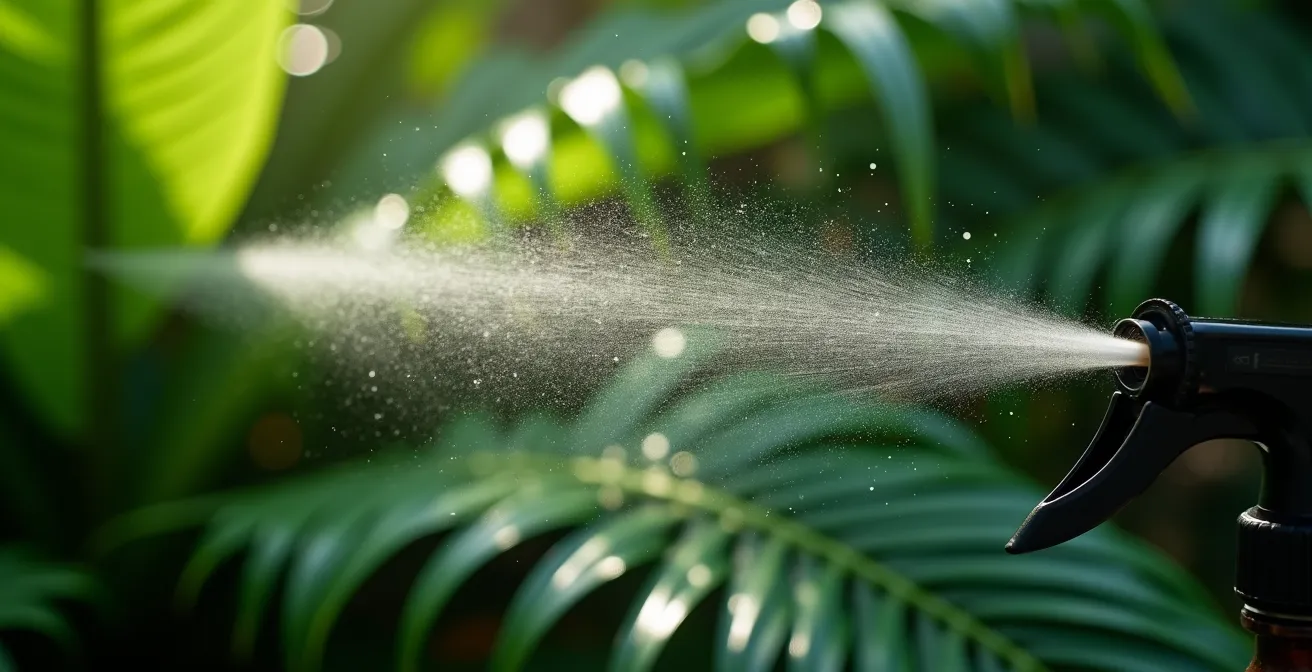
If you do choose to mist, technique is everything. As shown in the image, the goal is to create a fine fog that settles gently, not a heavy spray that beads up. Use a mister that produces an ultra-fine spray and apply it in the morning so the leaves have time to dry during the day, reducing the risk of overnight fungal growth. Think of it as creating morning dew, not a rainstorm.
Case Study: Creating a Micro-Climate with Plant Grouping
Rather than misting individual plants, experts from leading plant specialists like Proven Winners recommend grouping them to create a beneficial micro-climate. This technique, especially effective for plants from humid regions, significantly boosts local humidity. For an extra boost during dry winter months, you can place the grouped pots on trays filled with pebbles and water. As the water evaporates, it provides a steady stream of humidity right where it’s needed, a method that is far superior and safer than direct leaf misting.
Monstera or Calathea: Which Trendy Plant Won’t Poison Your Cat?
As you bring nature indoors, ensuring the safety of your furry family members is non-negotiable. The unfortunate reality is that many of the most popular and trendy houseplants are toxic to cats and dogs if ingested. A nibble on a Monstera or Pothos leaf can cause painful oral irritation, drooling, and vomiting due to the presence of calcium oxalate crystals. While rarely fatal, it’s a stressful and harmful experience for your pet and a heartbreaking one for you.
This doesn’t mean you have to choose between pets and plants. It simply means you must choose your plants with informed care. Thankfully, there is a beautiful and diverse range of non-toxic plants that thrive in low-light conditions. Plants like the vibrant Calathea, the classic Spider Plant, or the elegant Parlor Palm offer all the aesthetic and air-purifying benefits without the risk. Making pet safety a primary filter in your plant selection process is a crucial step in responsible plant ownership.
Before bringing any new plant home, a quick search on the ASPCA’s (American Society for the Prevention of Cruelty to Animals) plant database is a wise and simple precaution. This empowers you to create a home that is a safe and joyful sanctuary for every living being within it.
The following table provides a quick reference for some of the trendiest low-light plants, clearly outlining their pet-safety status to help you make a confident choice.
| Plant Type | Light Needs | Pet Safety | Toxicity Level |
|---|---|---|---|
| Calathea | Low to Medium | Safe | Non-toxic |
| Spider Plant | Low to Medium | Safe | Non-toxic |
| Parlor Palm | Low Light | Safe | Non-toxic |
| Monstera | Medium to Bright | Toxic | Level 2 – Causes vomiting |
| Pothos | Low to Medium | Toxic | Level 1 – Mild irritation |
The Soil Mistake That Brings Fungus Gnats into Your Living Room
You’ve finally got a beautiful new plant settled in, and then you notice them: tiny, black flies buzzing erratically around the pot and your apartment. These are fungus gnats, and their sudden appearance isn’t a sign of poor housekeeping; it’s a direct result of a common soil mistake. Fungus gnats lay their eggs in the top layer of consistently damp soil, and their larvae feed on fungi and organic matter. More often than not, these pests hitch a ride into your home directly from the nursery in a bag of contaminated potting mix or an already-infested plant.
This is a classic example of why an environmental diagnosis is so important. The problem isn’t just the fly; it’s the environment that allows it to thrive. Chronically moist soil, often caused by the “water once a week” myth, creates a perfect breeding ground. The first step to eliminating them is to break this cycle by allowing the top one to two inches of soil to dry out completely between waterings. This desiccates the eggs and larvae, disrupting their life cycle.
However, the best strategy is prevention. Treating every new plant as a potential trojan horse is a professional-grade habit that will save you immense frustration. A simple quarantine period is the most effective way to protect your existing collection and your living space from unwanted guests. This mindful pause ensures that any hidden issues are identified and resolved before they can spread.
Case Study: The New Plant Quarantine Protocol
Professional growers and experienced hobbyists swear by a 2-3 week quarantine period for any new plant. By isolating the newcomer in a separate room, you can monitor it for pests like fungus gnats or spider mites. During this time, inspect the soil surface daily for insects and check for larvae. It’s also the perfect time to assess the plant’s watering needs. This simple protocol has been proven to prevent the vast majority of pest infestations from spreading to an established indoor plant collection, keeping your home environment healthy and pest-free.
When to Repot: The Root Signals That Say Your Plant Is Suffocating
For many new plant owners, the idea of repotting is terrifying. It seems like a delicate surgical procedure that could easily go wrong. Because of this fear, plants are often left in their nursery pots for far too long, leading to a slow, silent suffocation. When a plant becomes “root-bound,” its roots have filled every inch of the container, forming a dense, tangled mat. There is no more room to grow, and the soil-to-root ratio becomes so low that the pot dries out almost instantly, making proper watering nearly impossible. The plant is effectively starving and suffocating at the same time.
Instead of fearing the repot, learn to look for the clear root health signals that tell you when it’s time. A plant that needs constant watering, has roots growing out of the drainage holes, or looks pale and has stopped growing is screaming for more space. Don’t wait for these dramatic signs. A yearly check-up, where you gently slide the plant out of its pot to inspect the roots, is a proactive way to stay ahead of the problem. This is the ultimate form of environmental diagnosis for your plant.
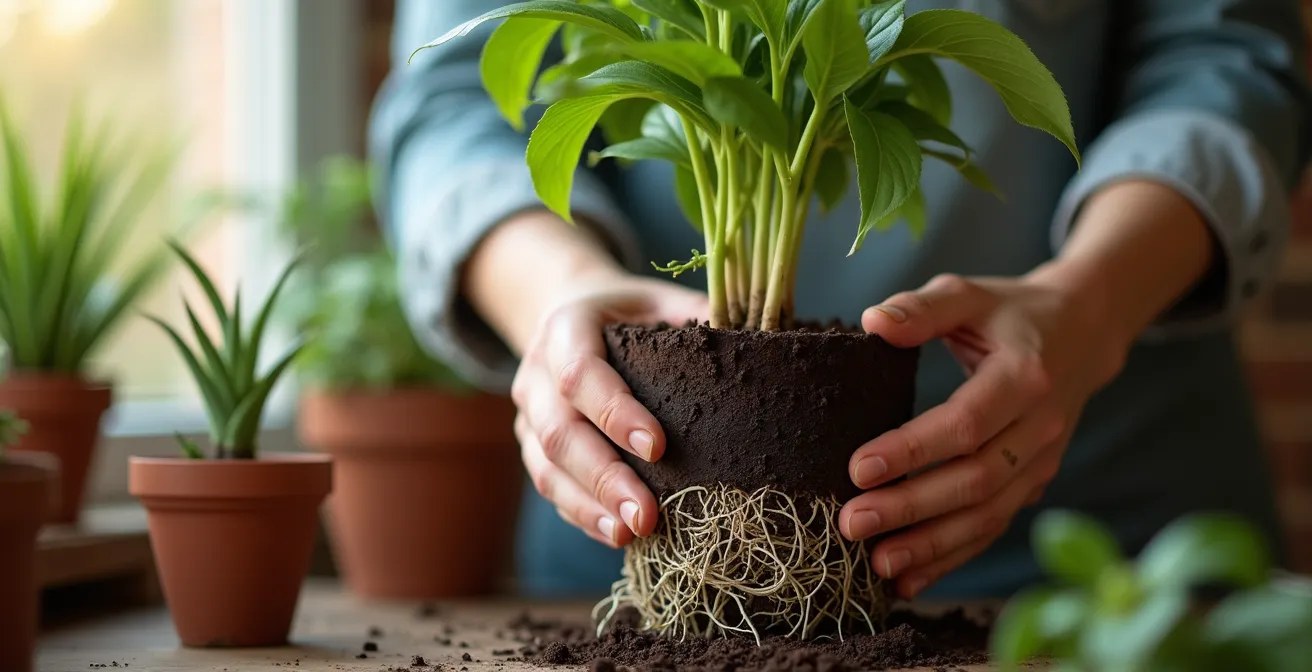
Healthy roots, as seen here, are the engine of your plant. They should be firm and typically white or light tan. Dark, mushy, or foul-smelling roots are a sign of rot. Seeing a dense web of healthy roots circling the bottom of the pot isn’t a problem to be feared; it’s a celebration of success! It means your plant is thriving and ready for the next stage of its life. Repotting is not an emergency procedure; it’s a graduation day.
Your Action Plan: The Root Health Diagnostic Checklist
- Color Check: Gently examine the roots. Healthy roots are typically white or light cream-colored. Unhealthy, rotting roots will appear brown, grey, or black.
- Smell Test: Healthy soil and roots should have a fresh, earthy smell. If you detect a sour, musty, or swampy odor, it’s a clear sign of root rot starting.
- Texture Assessment: Healthy roots feel firm and robust. Diseased roots will feel mushy, slimy, or fall apart easily when touched.
- Growth Pattern: Are roots densely circling the bottom of the pot? Can you see more roots than soil? This indicates the plant is root-bound and needs a larger home.
- Water Drainage: When you water, does it sit on the surface for a long time before draining? This means the soil is too compacted by roots, and it’s time to repot with fresh potting mix.
The Ventilation Mistake That Makes Your Warm House Feel Cold and Damp
One of the most overlooked aspects of a healthy indoor environment—for both you and your plants—is air circulation. In modern, well-sealed apartments, air can become stagnant. As your plants transpire, they release moisture into the air. Without proper ventilation, this moisture gets trapped, creating a micro-environment that can feel surprisingly cool and damp, even in a heated room. This stagnant, humid air is not only uncomfortable but is also the primary driver of fungal issues like powdery mildew on your plants.
You might think your home is well-ventilated, but the reality of indoor light is that it’s a fraction of what plants receive outdoors. It’s often directional and weak. Similarly, indoor air movement is minimal compared to the gentle breezes outside. The solution isn’t to blast your plants with a fan, which can dry them out, but to create gentle, indirect air circulation. This simple change has a profound impact.
Good air circulation helps the moisture on leaves evaporate, strengthens stems, and discourages pests like spider mites and fungus gnats from settling in. It also improves the efficiency of your plants as natural air purifiers. By bringing more air into contact with their leaves, you allow them to filter more airborne toxins, contributing more effectively to your home’s air quality and your overall sense of well-being. It’s a small adjustment that makes both your plants and your living space breathe easier.
Case Study: Strategic Air Circulation for Plant Health
Interior gardeners and designers on platforms like HGTV often recommend the strategic placement of small, quiet fans to mimic natural breezes. Instead of aiming a fan directly at a plant, position it across the room to create a gentle, ambient airflow that circulates the air throughout the space. Running a ceiling fan on its lowest setting for a few hours a day can also be highly effective. This technique prevents the stagnant, disease-promoting conditions that are common in closed-off apartment rooms while enhancing the plant’s ability to purify the air.
The Sterile Trap: How to Be Modern Without Losing Coziness?
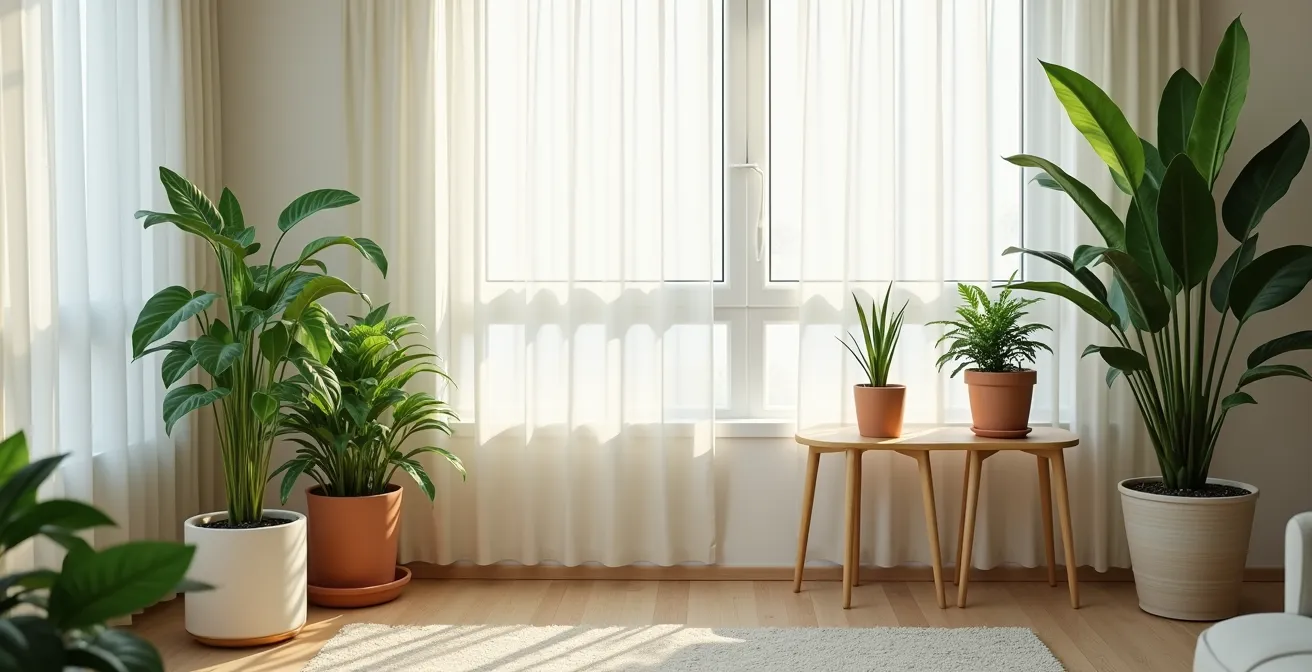
Modern minimalist design is popular for its clean lines and lack of clutter. However, it can easily fall into what designers call the “sterile trap”—a space that feels cold, impersonal, and lacking in warmth and character. Hard surfaces, neutral color palettes, and sparse decor can create an environment that looks chic in a magazine but feels uninviting to live in. This is where plants become more than just decor; they become essential architectural and psychological elements.
Plants are the perfect antidote to sterility. Their organic shapes, varied textures, and vibrant life force instantly break up the monotony of hard lines and flat surfaces. They introduce a natural, restorative element that our brains are hard-wired to respond to positively. This practice, known as biophilic design, is about intentionally connecting people with nature within the built environment. It’s a proven way to reduce stress, improve mood, and make a space feel like a true sanctuary.
You don’t need to turn your apartment into a jungle. The key is strategic placement. A tall Dracaena in a corner can add vertical interest and define a reading nook. A trailing Pothos on a bookshelf softens the hard edges of the furniture. A small grouping of diverse plants on a side table creates a lush, living focal point. By using plants to add layers of texture, color, and life, you transform a sterile box into a cozy, personalized, and healthy home.
Your Action Plan: Plant Styling to Create Coziness
- Soften Vertical Lines: Use trailing plants like Pothos or Philodendrons on top of high shelves or cabinets to draw the eye downward and create a sense of lushness.
- Define Zones: Place a larger floor plant, such as a Parlor Palm or Snake Plant, next to an armchair or at the end of a sofa to create the feeling of an intimate, enclosed nook.
- Create a Focal Point: Group 3 to 5 smaller plants of varying heights and textures on a console table or dresser. This creates a mini-vignette that draws attention and adds visual interest.
- Add Organic Texture: Ditch the plastic nursery pots. Use planters made from natural materials like terracotta, woven baskets, or ceramic to add warmth and an organic feel to your decor.
- Place Near Seating: Positioning plants near sofas and chairs enhances the feeling of being nestled in a calm, natural environment, directly boosting psychological comfort.
Key Takeaways
- Ditch the watering schedule; use the “finger dip test” to check soil moisture and water only when the plant is actually thirsty.
- Create a humid “micro-climate” by grouping plants together, a far more effective and safer method than frequent misting.
- Always check a plant’s toxicity on the ASPCA website before buying, and prioritize pet-safe options like Calatheas and Spider Plants.
How to Verify if Your Reforestation Donation Actually Plants Trees?
As your connection to your indoor plants deepens, it’s natural to feel a growing concern for the health of our planet’s forests. This often leads to a desire to contribute to reforestation efforts. However, the world of environmental charities can be murky. Donating to an organization with a promise to “plant a tree for every dollar” feels good, but how do you know if your contribution is truly making a difference or just planting a monoculture crop that won’t survive?
The principles of a responsible plant parent—observation, research, and a focus on long-term health—apply just as much to charitable giving. True impact isn’t just about the number of seedlings planted; it’s about survival rates, biodiversity, and community benefit. A reputable organization will be transparent about these metrics. They should be able to provide evidence of long-term monitoring (what happens after 3-5 years?), show that they are planting native species appropriate to the ecosystem, and demonstrate how local communities are involved and benefiting from the project.
An even more direct way to channel this passion is to think locally. The desire to nurture the planet can be fulfilled right in your own community, where the impact is tangible and immediately verifiable. This brings the satisfaction of gardening full circle, from your windowsill to your neighborhood.
Case Study: Supporting Local Urban Greening Initiatives
Instead of focusing on distant reforestation projects with questionable transparency, many plant enthusiasts are now choosing to support local urban greening initiatives. These projects, such as community gardens, city park tree-planting events, or native plant restoration in local green spaces, offer tangible and verifiable results. You can see the trees, touch the soil, and often even volunteer your time. This direct participation creates the same mindful, nurturing connection you experience with your houseplants while directly benefiting the air quality, biodiversity, and beauty of your immediate community.
Now that you are armed with the knowledge to debunk common myths and read your plant’s signals, you have the power to create a thriving indoor garden. The next logical step is to start applying this responsive care system to your own plants, beginning with a simple soil check today.